
Connecting a Stripe Platform Account
Overview
Violet Payments handles your platform's complete payment lifecycle through your Stripe account, including:
Payment processing and shopper charges
Commission and fee calculations
Fund transfers and payouts
Refund processing and transfer reversals
When you integrate Violet Payments, you get automatic generation of:
Distribution records
Payouts and payout summaries
Reconciliation data exports for accounting
Security and Privacy
Violet securely stores all credentials in HashiCorp Cloud Platform Vault, a industry-standard solution for managing sensitive data. Only authorized Violet services can access these encrypted keys. For more information, visit HashiCorp Cloud Platform Vault, here.
Integration Steps
Configure Your Stripe Account
Create a Stripe account if you don't have one
Enable Stripe Connect on your account
Setting up Stripe Connect
Violet relies on Stripe Connect to power the multi-merchant payments and payout flows. If a new Stripe Account is created, or Stripe Connect is not set up, merchants will not be able to connect payout accounts to your Stripe Account. To enable Stripe Connect, do the following:
Click on the following link
If you already have Stripe Connect set up, this page will take you to your Stripe Dashboard
Click “Get Started” on the Stripe Connect page. This takes you through setting up the dashboards merchants will have access to when they connect to your Stripe Platform account, and what the transaction strategy is.
Click “Continue”.
Stripe will ask the following question: “How will Funds flow through your platform?”
Select the option which says “Buyers will purchase from you”. This verifies that multi-merchant carts are possible. In the multi-merchant cart scenario, Violet handles charging the shopper and then handling transfers to each merchant involved in the transaction.
Stripe will then display a pop-up to review the financial impacts of this setting. Click “Review”.
Review and acknowledge the liability for chargebacks and refunds. If a dispute comes in from a shopper, this acknowledgment verifies that your Stripe Platform account will be the entry point to submitting dispute evidence, or any other documents. Click “Continue”.
Stripe will ask the following question: “How will sellers be paid out?”
Select the option which says “Payouts will be split between sellers”. This is important to ensure that in the multi-merchant cart scenario, Violet can compute the distribution amounts to all sellers involved and then process transfers to each of them. Shoppers will only see one charge on their payment method statements even while purchasing across multiple sellers.
Select the industry that best matches your business. This will most likely be “E-commerce Products”.
Select whether or not products listed on your marketplace through Violet will be similar across merchants. For example, if your marketplace only sells Technology products, and each merchant you connect through Violet will be a technology merchant, you can select “Yes, they’re similar”. If not, select “No, they’re different” or “Not sure”. Click “Continue”.
Select the expected maximum per-item price that will be sold through your marketplace. This will be the expected maximum price across all merchants you expect to connect to. Click “Continue”.
Under “Where will sellers create their account?” select the “Onboarding hosted by Stripe” section. Violet uses Stripe Express to easily allow merchants to go through a hosted KYC and payout account connection experience. Click “Continue”.
If you are building your own custom onboarding experience, contact your Violet Account manager for additional set up requirements.
For “Where will sellers manage their account?” select “Express Dashboards”. This provides merchants with default Stripe dashboards they can use to view or configure any upcoming payouts.
If configuring your own dashboards, contact your Violet Account manager for additional set up requirements.
Customize your onboarding interface so that merchants you onboard will see your platform name and branding when they go through KYC. You can do this, here.
Review your setup and click “Continue”. Your account is now enabled for Stripe Connect!
Locate your Stripe Account ID in Account Settings (this ID works for both Test and Live modes)
Store the
accountIdin a secure location.
Generate Stripe Restricted Keys
Stripe Restricted Keys
Stripe restricted keys are API credentials with limited permissions that you'll generate for both test and live modes. These keys can be created through either:
The Stripe Dashboard API keys page
The Stripe CLI
Each restricted key requires two permission sets:
Platform Account permissions for webhook processing
Stripe Connect permissions for merchant account creation
You'll need to generate and securely store these keys before sharing them with Violet through our encrypted channel. For each of these keys, the following scopes will be needed:
You can also view these scopes on the dedicated page here.
Required Stripe Scopes
Core Resources
Apple Pay Domains
None
None
Balance
None
None
Balance transaction sources
Read
Read
Balance Transfers
None
None
Test clocks
None
None
Charges
Write
Write
Confirmation token
None
None
Confirmation token (client)
None
None
Customers
Write
Write
Customer session
None
None
Disputes
None
None
Events
None
None
Ephemeral keys
None
None
Files
None
None
Funding Instructions
None
None
PaymentIntents
Write
Write
PaymentMethods
Write
Write
Payment Method Domains
None
None
Payouts
Read
Read
Products
None
None
Shipping Rates
None
None
SetupIntents
None
None
Sources
None
None
Tokens
Write
Write
Checkout Resources
Checkout Sessions
None
None
Billing Resources
Coupons
None
None
Promotion Codes
None
None
Credit notes
None
None
Customer portal
None
None
Invoices
None
None
Prices
None
None
Subscriptions
Write
Write
Quote
None
None
Tax IDs
None
None
Tax Rates
None
None
Usage Records
None
None
Meters
None
None
Meter Events
None
None
Meter Event Adjustments
None
None
Connect Resources
All
N/A
Write
Application Fees
N/A
Inherited from parent
Login Links
N/A
Inherited from parent
Account Links
N/A
Inherited from parent
Top-ups
N/A
Inherited from parent
Transfers
N/A
Inherited from parent
Order Resources
Orders
None
None
SKUs
None
None
Issuing Resources
Authorizations
None
None
Cardholders
None
None
Cards
None
None
Disputes
None
None
Tokens
None
None
Token Network Data
None
None
Transactions
None
None
Reporting Resources
Report Runs and Report Types
None
None
Webhook Resources
Webhook Endpoints
Write
Stripe CLI Resources
Debugging tools
None
None
Payment Links Resources
Payment Links
None
None
Terminal Resources
Configurations
None
None
Locations
None
None
Readers
None
None
Connection Tokens
None
None
Tax
Tax Calculations and Transactions
None
None
Tax Settings and Registrations
None
None
Radar
Reviews
None
None
Climate Resources
Climate Orders
None
None
Test Mode Keys
Go to the Stripe API Keys Dashboard
Enable Test mode
Note your Publishable Key from the "Standard Keys" section
Create a restricted key named
violet-testwith required scopes at https://dashboard.stripe.com/test/apikeys/createStore the key securely
Live Mode Keys
Return to the Stripe API Keys Dashboard
Disable Test mode
Note your Publishable Key from the "Standard Keys" section
Create a restricted key named
violet-livewith required scopes at https://dashboard.stripe.com/apikeys/createStore the key securely
Configure Stripe OAuth
This section is only required if you plan to let merchants connect their existing Stripe Standard accounts for payouts. If you’re using only Stripe Express accounts, you can skip it.
OAuth enables merchants to connect their existing Stripe Standard accounts for payouts instead of creating new Stripe Express accounts. Violet uses Stripe Client keys to authenticate merchant accounts through OAuth 2.0 to let merchants connect their existing Stripe Standard accounts for payouts. This requires Stripe Client keys, which are separate from the restricted API keys.
With OAuth authentication:
Merchants can use their existing Stripe Standard accounts
No need to create new Stripe Express accounts
Violet securely connects merchant accounts to your platform
Test Mode OAuth Setup
This section only applies if you intend to allow Stripe standard accounts to be connected to your platform, in which case your Stripe client ID will need to be collected as part of your onboarding. If you intend to only connect Stripe Express accounts, you can skip this section.
Toggle “on” the setting that says “Enable OAuth”
Copy the “Test Mode Client ID” in a secure location
Click on “Add URI” to add the following Redirect URIs.
Live Mode OAuth Setup
This section only applies if you intend to allow Stripe standard accounts to be connected to your platform, in which case your Stripe client ID will need to be collected as part of your onboarding. If you intend to only connect Stripe Express accounts, you can skip this section.
Go to https://dashboard.stripe.com/settings/connect/onboarding-options/oauth or turn off “Test” mode from the toggle in the right hand corner of the screen.
Toggle “on” the setting that says “Enable OAuth”
Copy the “Live Mode Client ID” in a secure location
Click on “Add URI” to add the following Redirect URIs.
Share Stripe Keys with Violet
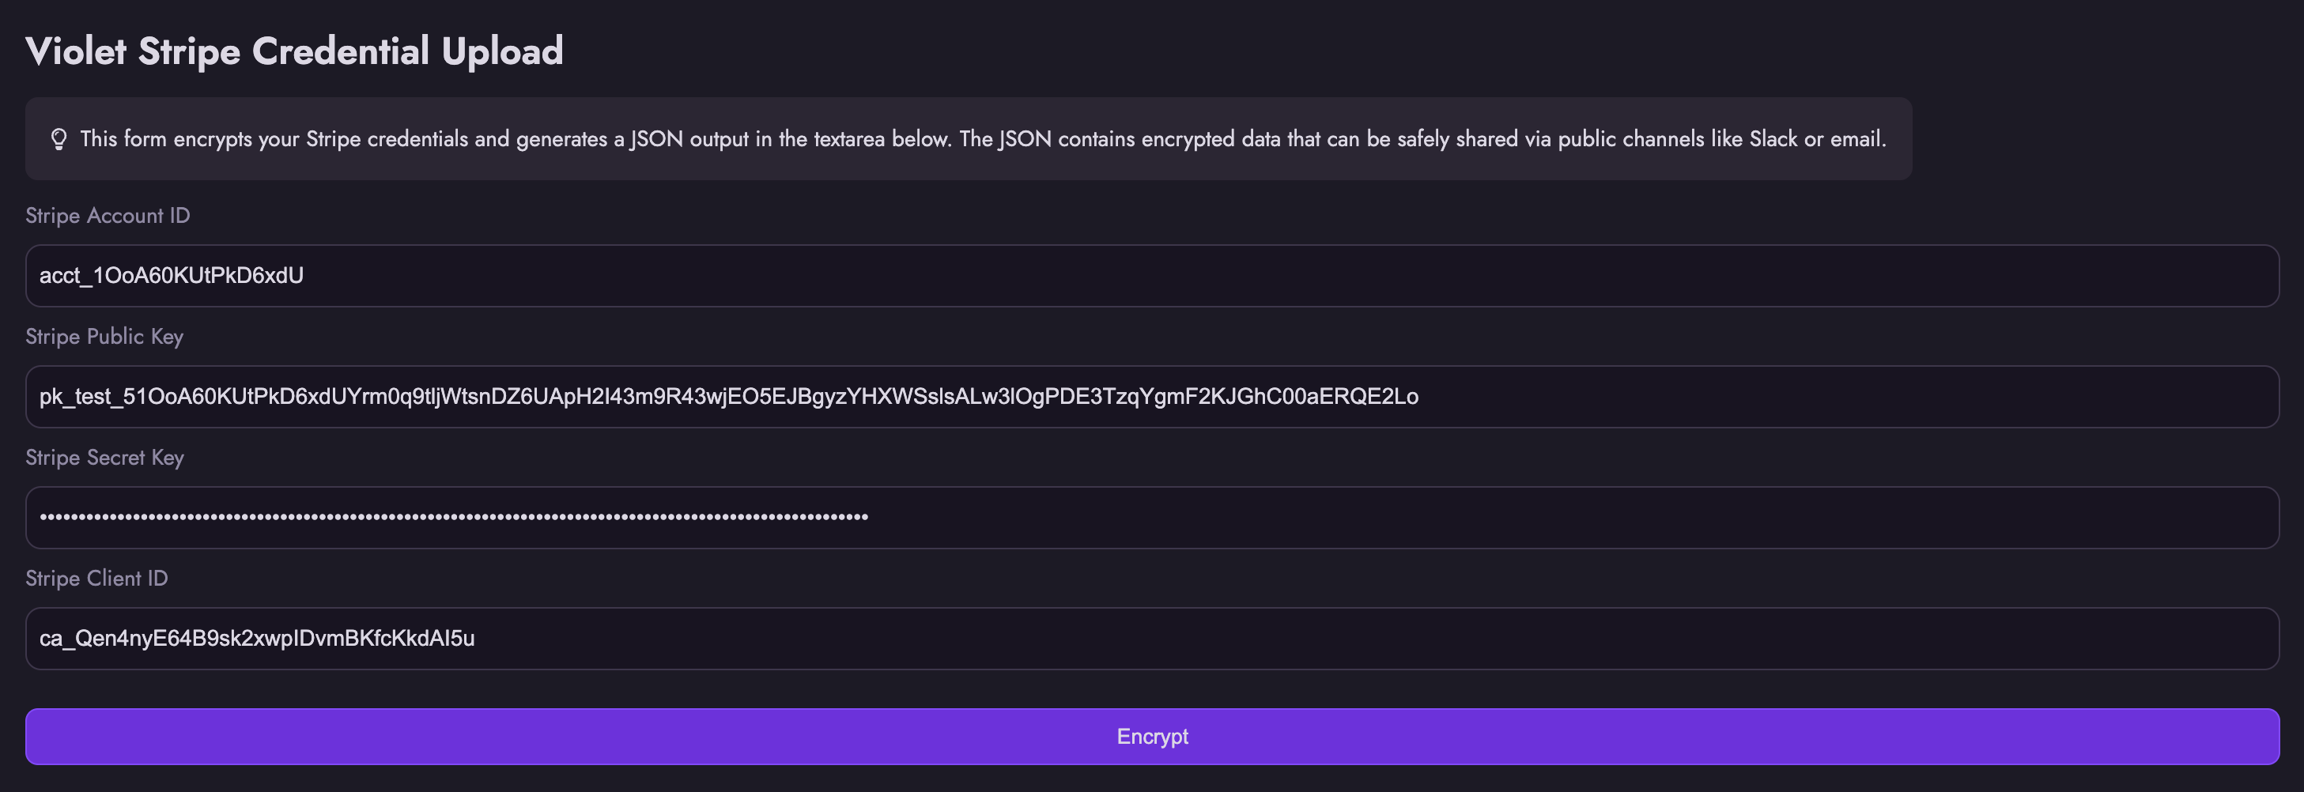
Visit the Violet Credentials Encryptor
Enter your stored Stripe credentials
Click "Encrypt"
Share the encrypted payload with Violet via Slack or DevRev
Repeat for both Test and Live mode credentials
Verification
Test Merchant Onboarding
Onboard a test merchant through the Sandbox Mode Violet Connect URL
Verify the merchant's payout account appears in your Stripe Connect dashboard
To test the connection, onboard a test Merchant through the Sandbox Mode Violet Connect URL and then navigate to https://dashboard.stripe.com/test/connect/accounts/overview. The payout account created for the new Merchant should be visible in the Stripe Account that was connected to Violet.
Test Checkout Flow
To test Checkout against your Stripe account, you can create and submit an Order in Test Mode as described here.
The Order object will have a PaymentTransaction on it, which includes a payment_provider_transcation_id. This is the ID of the Payment Intent in Stripe. You can navigate to this payment intent by doing the following:
Copy the payment intent ID and navigate to https://dashboard.stripe.com/test/payments.
Paste the
payment_intent_idin the search bar. Hit Enter.Stripe dashboards should automatically take you to the succeeded payment intent.
Alternatively, you can paste the Violet Order ID in Stripe’s search bar and hit enter. Violet attaches metadata to the transaction in Stripe, so you should be able to see any associated payment intents and transfers when searching by Order ID.
Last updated
Was this helpful?